


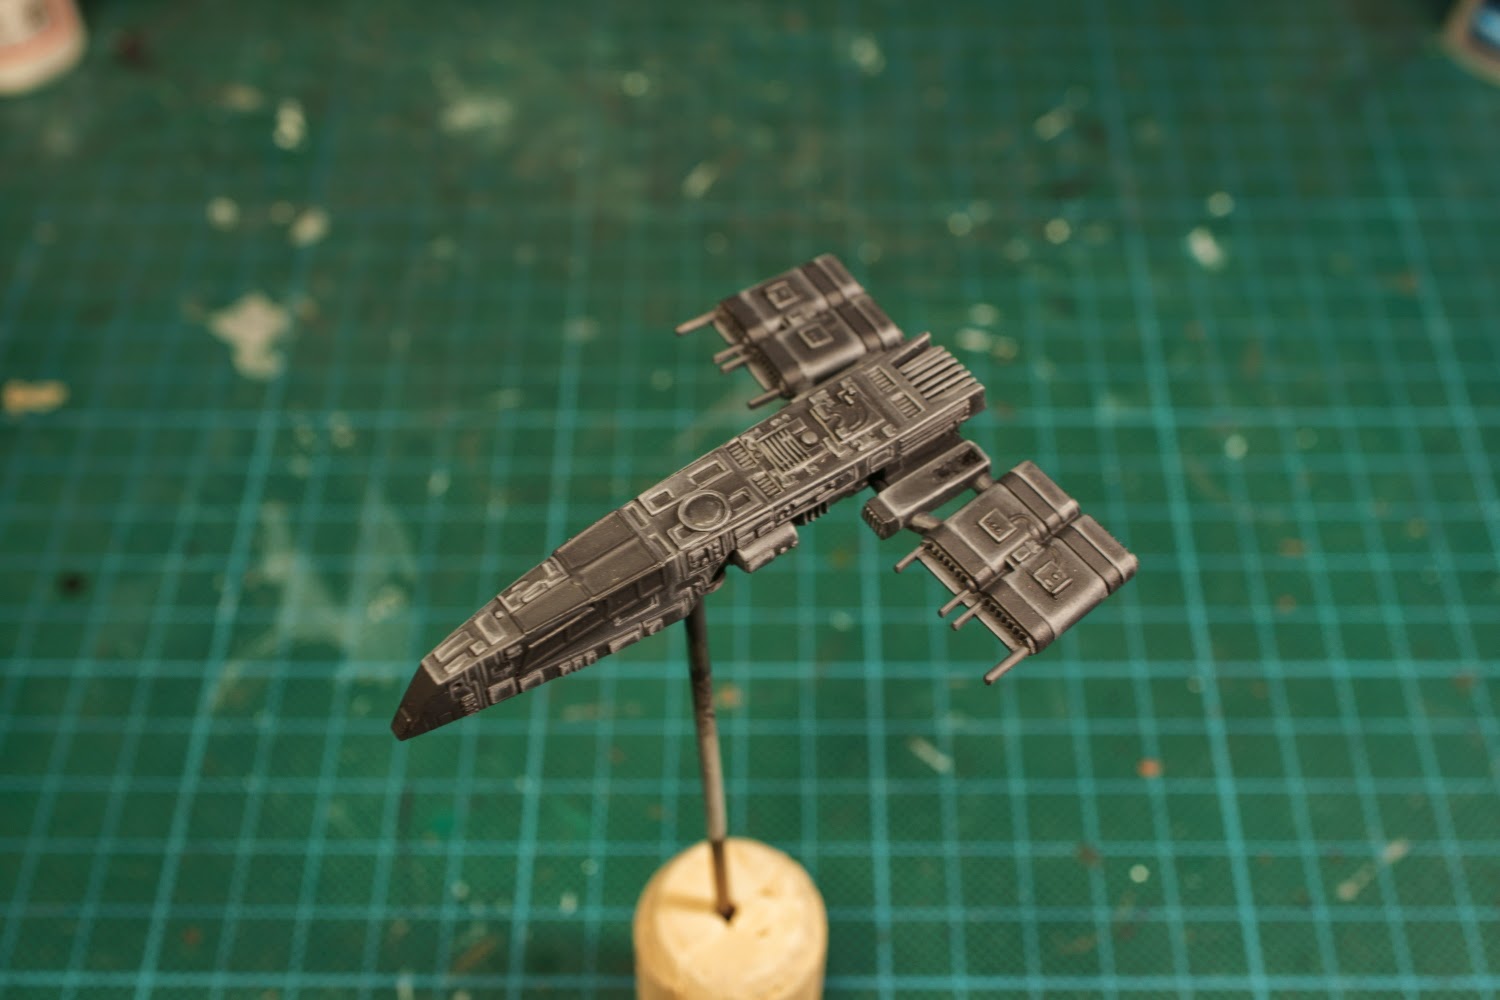
Before I even started painting I had to deal with the usual mould lines, leftover glue and imperfections. The 'tailfins', as can be seen in the first picture, was not very well glued into place. They had to come loose, partially so I could align them better, and partially to make painting easier. The belly gun suffered the same fate.


First came the black primer, followed by a 4:1 base coat mix of Vallejo German Grey and Vallejo Cold Grey. The entire model was then washed with a thin layer of Army Painter Dark Tone ink.


A thing to note is that I made a small modification to the model at this stage. One of the antenna (Not sure exactly what they are) protruding from the wings broke so I had to fix it. Since I didn't know where the broken part were, and also highly doubting that it would stay in place if I glued it back, I removed the entire thing and it's corresponding antenna on the other side. Instead I drilled some holes and put 1mm piano wire as a replacement, making sure that the new parts were longer than the old ones so they could more easily be differentiated.


For the NMM gold I used a recipe found on Rodion Rubin's blog but with the difference that I mostly used Vallejo paints and that I started with the midtone of old GW Snakebite Leather. When painting flat parts with NMM gold, I find that the midtone is easier to begin with as it allows me to work both up and down in colour transition. In any case, the base coat was washed with Dark Tone ink that I added a bit of Vallejo Charred Brown to and I painted pure Dark Tone ink directly into to the deepest recesses. This was then cleaned up with the base coat.


As a side note, Plague Brown was harder to work with than the other colours. When thinned out greatly, it seemed like the pigments were either clumping together or that they were unnaturally big and a smooth colour transition was much harder to achieve. In the third picture above you can see on the 'beak' how grainy the colour became when I painted it. I have no idea if this is how the paint is supposed to be or if I've gotten a bad batch.

The windows, any exposed wires and a row of three buttons/lights on top of each wing was painted with Vallejo Scarlet Red and was shaded with a wash of Dark Tone ink. After reapplying the base colour, I added some Vallejo Bloody Red as a final highlight or in the case of windows, a reflection. Sadly I forgot to take a picture of the highlight stage.


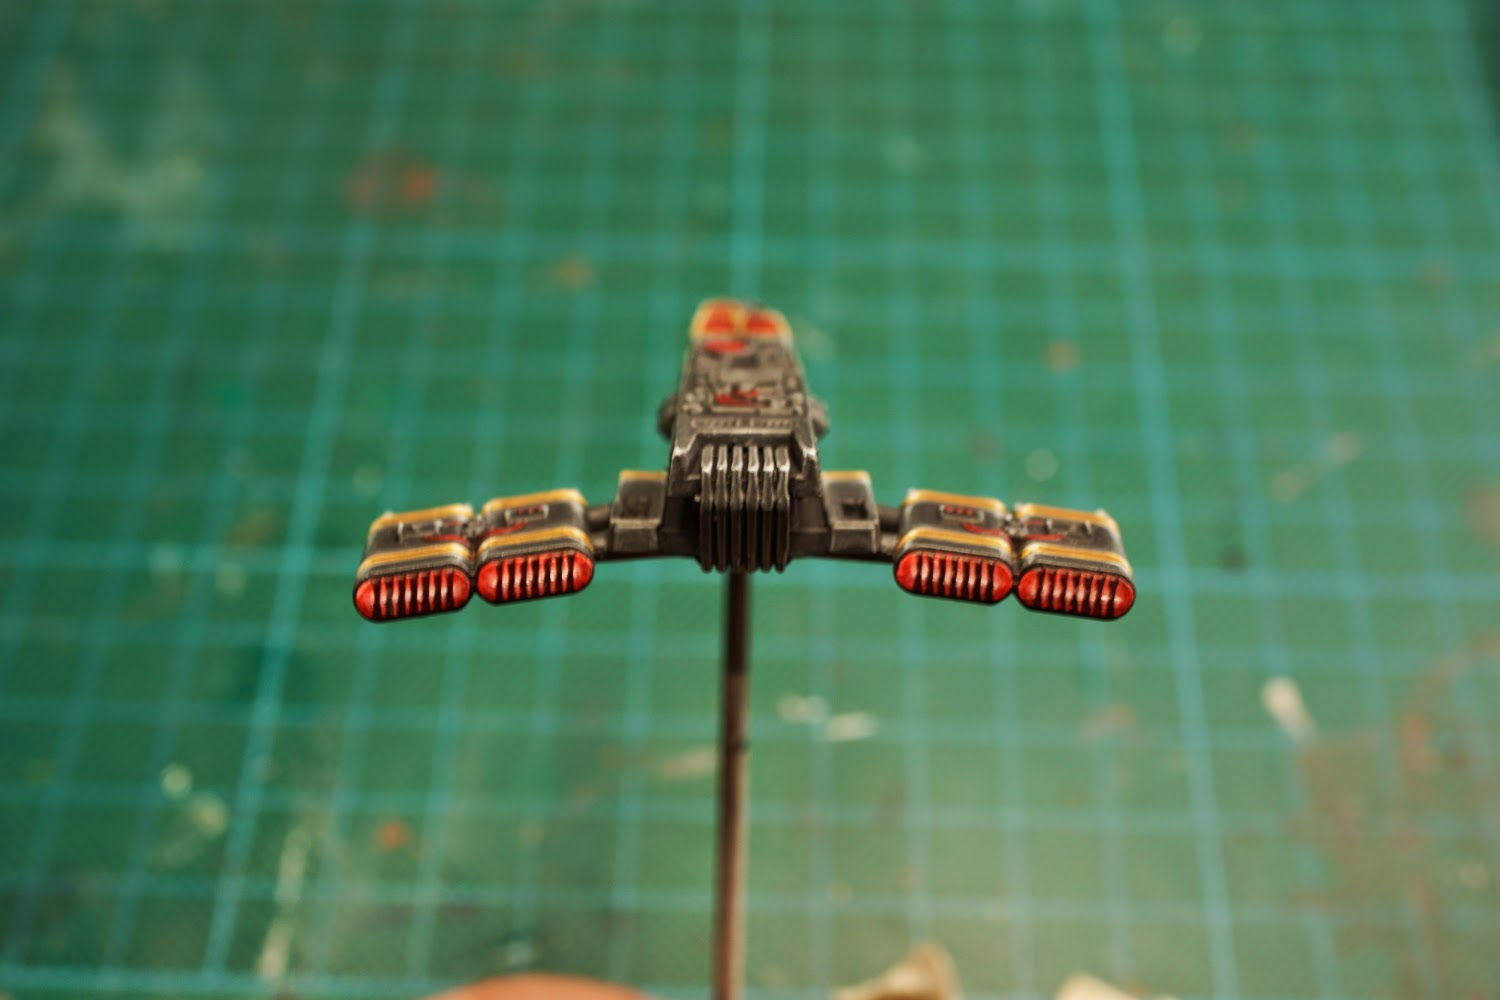
As I didn't want to add too many different colours to the model, the engine exhausts got the same basic treatment as the other red parts. However I didn't stop at pure Bloody Red, instead I added Dead White and slowly made the middle of the exhausts pink until I could add a thin area in the absolute middle that was pure White. To finish off the entire model I varnished it with matte varnish and made the windows shine with some gloss varnish.
No comments:
Post a Comment