
And here it is, the fourth and final scum Y-wing tutorial, the Bush Viper. This was by far the most difficult Y-Wing to paint as it involved a lot of contrasting colours. Luckily I had liquid mask to help me, one of my new favourite substances!

First I needed to add some fangs. Just like with the Warthog Y-wing I found the parts I needed in my boxes of bits. Some old Warhammer 40k Kroot accessories had carving knives on them that would work as fangs. I cut off the tip from these and glued them onto the Y-wing.
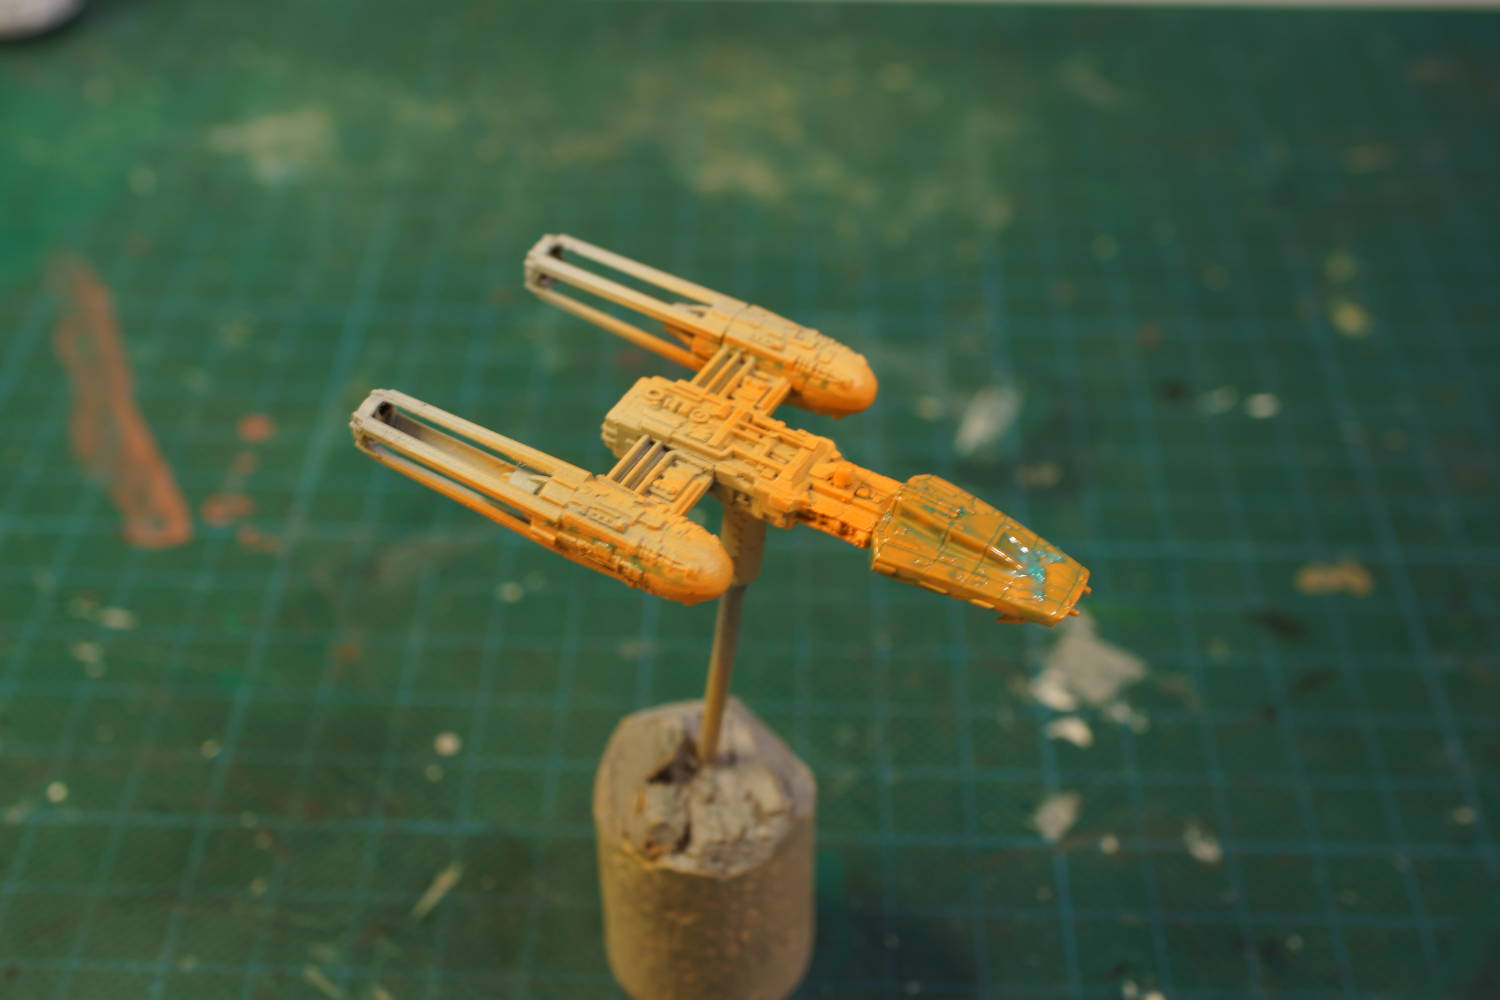
The first layer was Vallejo's grey primer though I also sprayed some white primer on the sides of the engine pods and the front/cockpit area. Next I sprayed the white areas with a 1:2 mix of VMC Fluo Orange and VMC Fluo Yellow. To protect the orange I used the aforementioned liquid mask on the front and the sides of the engine pods.
Liquid mask is basically a paint that hardens to a rubbery consistency and that can easily be removed later on. Very useful on small models like this where masking tape often comes across as clumsy and unwieldy.


Next I airbrushed the rest of the ship with a 1:2 mix of Air VGC Magic Blue and Air VMC White. After that I removed the liquid mask from the front so I could airbrush the red spot using a 1:1 mix of VGC Terracotta and VGC Red Gore. The dark blue stripes I painted by hand using pure VGC Imperial Blue. With all the basic colours in place I could now finally remove the liquid mask I had painted along the sides of the engine pods.


I started the highlighting step by drybrushing the dark stripes. I first used a 2:1 mix of Imperial Blue and VGC Magic Blue followed by a lighter drybrush using the same colours but in a 1:2 ratio. The third highlight/drybrush used pure Magic Blue and I also carefully painted this on select areas.
For the bright blue I instead drybrushed a 1:4 mix of Magic Blue and White, followed by a lighter drybrush using a 1:7 mix of the same colours. Yet again, this second mix was painted on select areas.
The front however proved quite a bit more challenging to highlight due to the lack of a clear separation between the red and the orange areas. I first highlighted the orange using a 1:1:3 mix of White, VGC Hot Orange and AP Daemonic Yellow followed by second highlight using the same colours though in a 3:2:1 mix.
These two mixes was also blended into the red colour (1:1 mix of Red Gore and Terracotta) to create a smooth transition between the two areas and also highlight the red front
The power conduits was painted with VGC Beasty Brown while the turret gun barrels was painted with a 1:1 mix of Cold Grey and VGC Sombre Grey. After that I used a dark brown oil wash for the shade.


I could now finally start on the details. The engine glow was slowly built up using successive glazes of Army Painter Red Tone ink as a start. When I had a good start I switched to VGC Red Gore that I added small amounts of white to.
The Power conduits were first repainted using Beasty Brown, followed by a highlight using a 1:1:3 mix of VGC Plague Brown, VGC Khaki and Beasty Brown. The second highlight used the same colours, only in a 1:1:1 mix. For the last highlight I removed Beasty Brown and replaced it with White for another 1:1:1 mix.
For the cockpit windows I used the same mix as for the turret gun. These, just like the guns, was highlighted by adding ever greater amounts of VGC Stonewall Grey to the mix. For the final parts of the window reflection I used pure white.
No comments:
Post a Comment