

In any case, as with the Y-wing, I stripped the paint and primed the model. After the first basecoat of Vallejo Stonewall grey I added the rest of the basic colours. Vallejo Plague Brown for the yellow parts (Pro tip here, Plague Brown is great for representing yellow and is far easier to paint than actual yellow colours), a 1:1 mix of GW The Fang and Vallejo Cold Grey for the cockpit, plain Cold Grey for the upper left engine intake, the exposed mechanics behind the R2-unit and the back of the fuselage (not seen in this picture), Vallejo Dead White for the R2-unit and about a 1:6 mix of Vallejo Bloody Red and Gory Red. The last mix is probably unnecessary under normal circumstances but my bottle of Bloody Red is strange. It is actually slightly pink and dries to a glossy finish. The Gory Red is needed to alleviate the problem.


Next I shaded the entire model with a 1:4 mix of Army Painter Strong Tone ink and Army Painter Dark Tone ink. I brushed this on quite thinly as I didn't want any of the wash to pool or dry unevenly. After that I re-applied the base colours, leaving the wash showing in the recesses. I also took the time to wash the back of the engines, with the exception of the nozzles, with pure Strong Tone ink to give them a slightly burnt look.

The grey highlights was mostly just Dead White on any exposed edges. The yellow highlight was a 1:2 mix of Vallejo Khaki and Plague Brown, the cockpit was highlighted with a 2:2:3 mix of The Fang, Cold Grey and Stonewall Grey and the red stripes on the fuselage got a minuscule highlight of 1:3 Vallejo Hot Orange and Bloody Red. I also washed the engine nozzles with pure Dark Tone ink and painted R2, first with old GW Chainmail to represent his silvery dome/head and old GW Enchanted Blue for the blue parts. The final and almost forgotten highlight was pure Cold Grey lightly drybrushed over the exposed mechanics behind the R2-unit and the back of the fuselage, followed by an even lighter drybrush of Stonewall Grey. The cockpit windows got a coat of Vallejo German Grey followed by a wash of Dark Tone ink.


Finally I could begin with the fun stuff, weathering! The yellow areas was chipped by first painting the highlight randomly on parts of the area followed by a layer of the basecoat, Stonewall Grey, leaving only a tiny outline of the highlight layer showing. The Red I simply dotted randomly with Stonewall Grey. Chipping on the basecoat was done similarly to the yellow areas, but with Dead White followed by German Grey instead. The German Grey was not really painted but rather almost stippled on to create a more natural look. Some rust was added by painting thinned out Vallejo Parasite Brown in several recesses. I added some dirt/soot streaks on the wings in the form of a couple of thin layers of Dark Tone Ink. After spraying the model with matte varnish I added the final touch to the cockpit windows by painting them with gloss varnish.


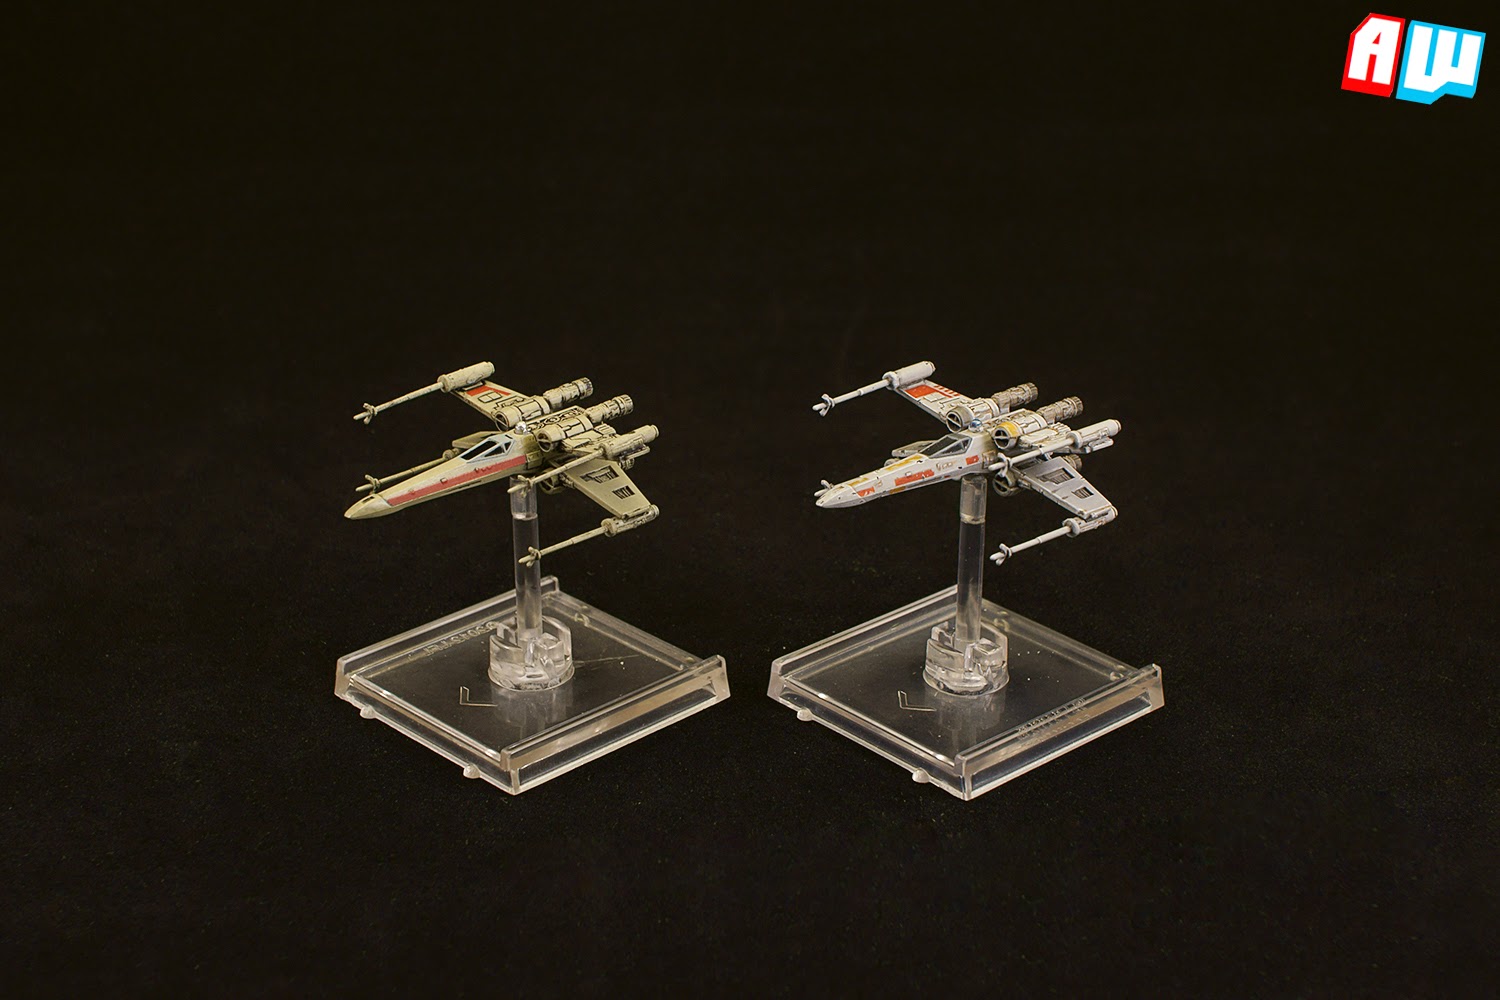 |
| Comparison to factory paintjob |
Excellent tutorial! Amazing how much of difference the repaint makes... so much more "lively" a model afterwards, when compared to the stock paintjob.
ReplyDeleteThank you! Of course if you like this one you should like my Wedge repaint even more.
Deletehttp://alternativewargamer.blogspot.se/2014/06/wedge-antilles-red-two.html