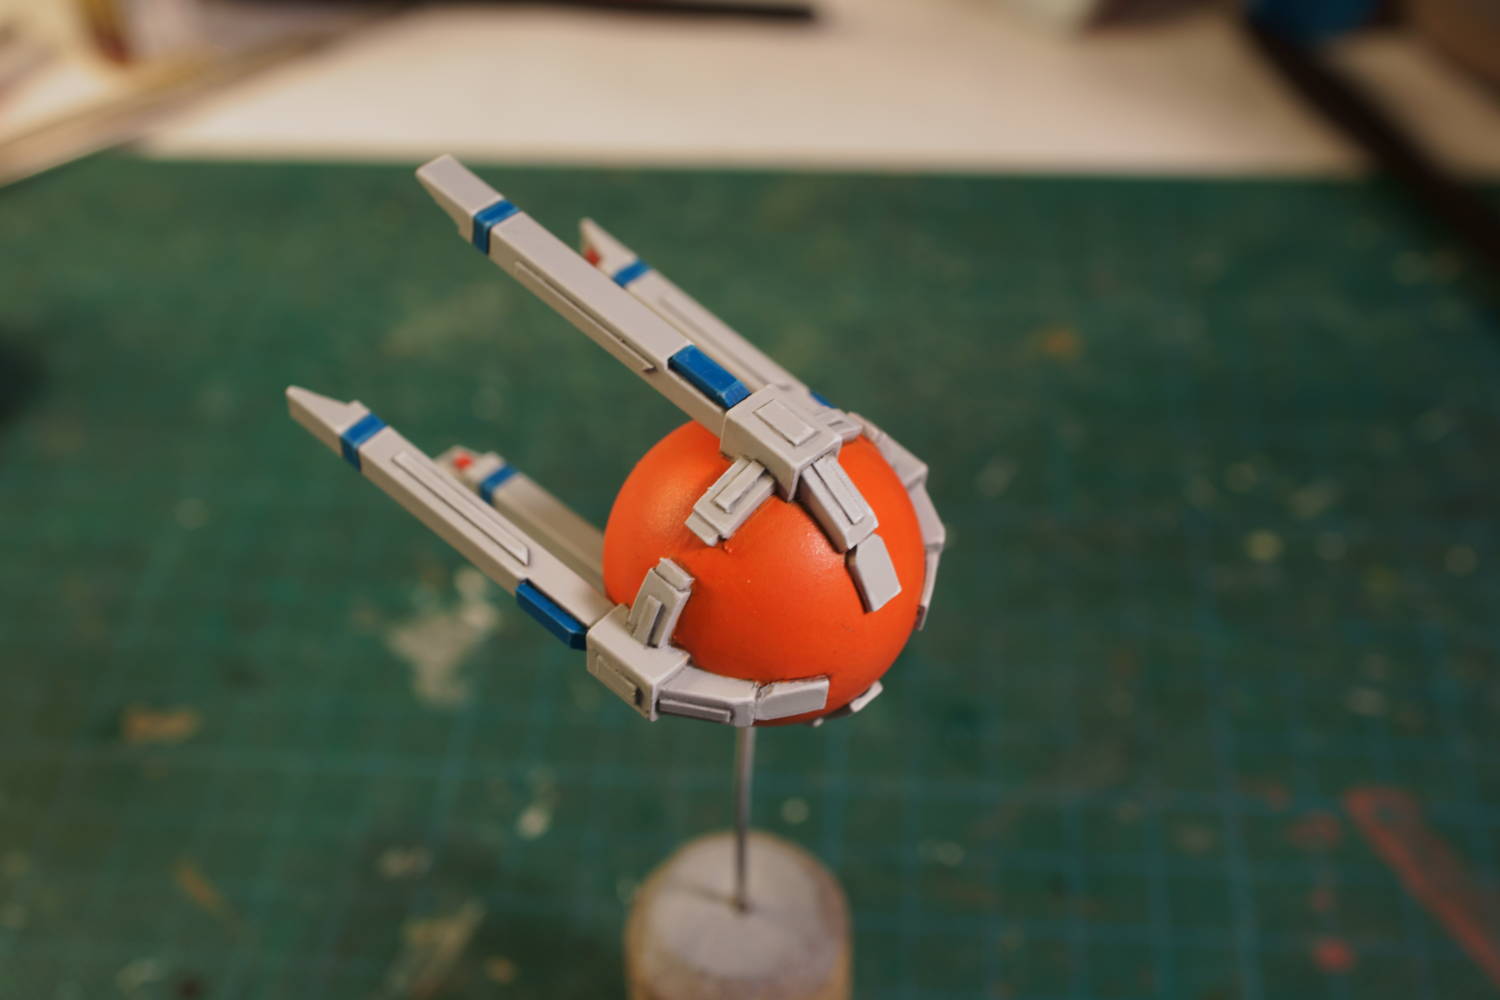
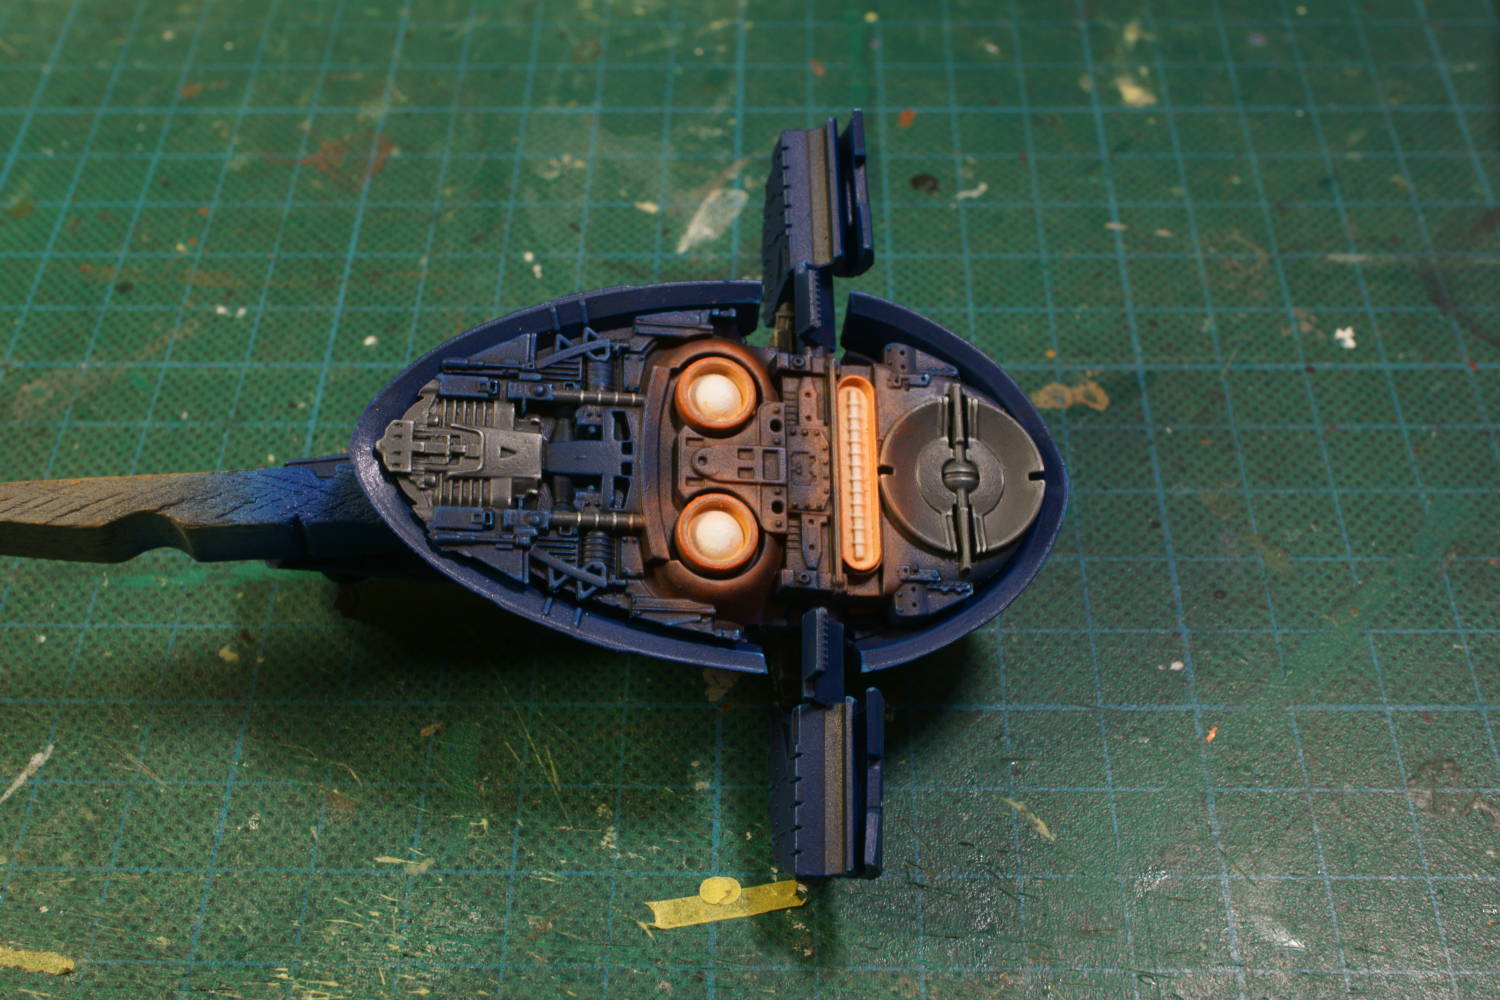
 While painting the CT-900 wasn't quite as difficult as building the ship, it certainly provided it own set of challenges. After all, trying to match the colour scheme of a Lego model to a scratch built 'scale' model can be quite tricky.
Showing posts with label painting. Show all posts
Showing posts with label painting. Show all posts
Monday, 16 April 2018
Painting a CT-900 'StarScavenger'
While painting the CT-900 wasn't quite as difficult as building the ship, it certainly provided it own set of challenges. After all, trying to match the colour scheme of a Lego model to a scratch built 'scale' model can be quite tricky.Friday, 21 April 2017
Painting an Arquitens-class light cruiser Mk2
 Painting the Arquitens Mk2 turned out to be surprisingly similar to painting the first ship. And not only because it is basically the same model.
Thursday, 2 March 2017
Painting an Ikaruga Fighter
 The paint job on my Ikaruga was directly inspired by pictures of the ship I found on the interwebz. However, as it turned out, there are a few different versions of the ship and I managed to mix them up in my head. While it didn't matter in the end, remember to do your research!
Monday, 5 December 2016
Painting an Arrowhead
 I'm finding it harder and harder to keep up with my paint guides. Real life can be such a problem sometimes and it certainly doesn't seem to let up. Anyway here's how I painted my Arrowhead.
Wednesday, 16 November 2016
Painting the Executive Sweet
 Along with the K-wing, the ARC-170 draws a lot of inspiration from World War 2 aircraft. As such I just knew I had to paint my ARC as some kind of WW2 bomber. After some research I found the Executive Sweet and right then and there I knew how my ship would be painted.
Thursday, 10 November 2016
Painting a Razor Squad ARC-170
 While certainly a good looking paint scheme I knew that the Razor Squad ARC-170 would be tedious to paint. Of course, reality stepped in and gave me a helpful push. And in this case it was a good push.
Sunday, 2 October 2016
Painting a Rogue One X-wing
 I honestly forgot about this one. And I didn't even have a shiny new game to use as an excuse for my forgetfulness. No matter, here's how I painted a pair Rogue One X-wings, now known as the Partisan X-wing.
Thursday, 15 September 2016
Painting a Mining Guild TIE
 I discovered a game called Halcyon 6 during the weekend. And that also happens to be the reason that this particular paint guide haven't been uploaded earlier. Blame the game, not me!
Thursday, 8 September 2016
Painting Hera's A-wing
 Hera's A-wing is possibly one of the strangest ships I have painted so far. It features too many colours and they really don't mesh naturally with each other.
Sunday, 21 August 2016
Painting a prototype B-wing
 It would not at all surprise me if FFG release a prototype B-wing expansion pack in the future. In the mean time, here's how I did my version of it.
Monday, 15 August 2016
Painting a Starbus
 The Starbus marks the third time I have painted a 3D-printed model. While my sample size obviously isn't the greatest, the model does reinforce my opinion that 3D-printing needs to mature a bit more before it can truly compete with more traditional methods.
Thursday, 11 August 2016
Painting a TIE Shuttle
 Painting the TIE Shuttle was very much like the conversion from Bomber to Shuttle. Despite the apparent simplicity, it was a bit more complex than what one might first expect.
Wednesday, 3 August 2016
Building a TIE Shuttle
 And here's my little tutorial on how I converted a TIE Bomber to a Shuttle. While the TIE Shuttle may seem like a simple conversion there is actually more going on under the hood than what is at first visible.
Saturday, 30 April 2016
Painting a Sentinel-class landing craft
 Here's how I painted the Sentinel shuttle, which coincidentally is also a perfect lesson in how to paint white. Hint number one, never paint white!
Sunday, 3 April 2016
Painting 'Skull One'
It took some time, but I've finally managed to block out the intro song from Robotech! However, as I write this paint guide I'm in serious danger of a relapse.

The ship was first primed with Vallejo's Grey Primer followed by a base coat using a 1:1 mix of VMC Air White and VGC Air Stonewall Grey. After that I picked out the details. The black areas used a 1:1 mix of AP Matte Black and VMC German Grey, the yellow was a 3:1 mix of AP Daemonic Yellow and VGC Plague Brown and the grey details were painted with pure VGC Cold Grey.

With all the basic colours in place I sealed the model with a coat of Gloss Varnish. For shade I carefully painted AP Dark Tone ink into every recess, except for the yellow areas which were instead shaded using AP Soft Tone ink. I airbrushed another layer of varnish, matte this time, and set about correcting any mistakes from the shading stage.

As any good painter will tell you, never paint pure white as it's impossible to highlight white. I had certainly not made that mistake but the base coat was bright enough that highlighting was still a fairly difficult prospect.
For the first layer I used a 3:1 mix of AP Matte White and VGC Stonewall Grey. This was painted on every edge I could find. For the second layer I painted heavily diluted Matte White on any prominent edges and panels. For the third and final layer I again used Matte White, though barely diluted, and only applied to the most raised details.

Black is similar to white in that you should never paint pure black. However in this case, the problem is not highlighting, but rather shading as you can't make black darker than black. This meant that the Dark Tone ink from the shading stage was not really enough. To remedy this I painted diluted Matte Black directly into the recesses of any area painted black.
For highlight I began by painting all black edges with German Grey. The second highlight, a 1:1 mix of Cold Grey and German Grey, was applied to the same edges as the first layer, though in thinner lines, taking care to leave the first layer visible. The third layer was pure Cold Grey, mostly applied around the prominent edges around the cockpit. The fourth and final layer was pure Stonewall Grey, painted as little more than tiny dots on the cockpit frame.

The yellow areas were highlighted by first painting all edges with Daemonic Yellow. The second and third layers added small amounts of white to the mix.
All areas painted with Cold Grey received a light drybrush using a 1:1 mix of Cold Grey and Stonewall Grey.
The cockpit windows were painted with VGC Sombre Grey, shaded with Cold Tone ink and when dry, I reapplied the base colour, taking great care to leave the shade visible in the recesses.

To really emphasise the 'Skull One' paintjob I scoured the Internet for a suitable skull and crossbones marking. This I made into a decal which I printed out and applied to the model.
The reflections on the windows were achieved by taking Sombre Grey and slowly mixing in increasing amounts of Stonewall Grey for each successive layer. For the very final layer I used pure Matte White.
The engine glow is not my standard fair as I realised while researching the paintjob that Veritechs usually feature a blue/white, almost green, glow. So instead of the usual red/pink I go for when painting X-wings and Zed-95s, I tried using VGC Falcon Turquoise with some white mixed in.
Of note is that I did not weather this ship at all. No scratches, burns, streaks or dirt. This because the TV-series seldom (if ever) showed such things on the fighters and I wanted my model to stay true to the source material.
Friday, 25 March 2016
X-1S - 'Skull One'
This repaint combines two important parts of my life; Star Wars and Robotech. And to be honest, Robotech was perhaps the first love of my life, as I watched it for the first time as a wee lad back in 1986-1987. Star Wars didn't enter my life properly until around 1993.
As for the repaint itself, it's my interpretation of how a T-70 would have looked if Roy Fokker had piloted one. During the painting process I couldn't stop humming the intro music from Robotech, and I haven't really been able to stop! As always, enjoy!


As for the repaint itself, it's my interpretation of how a T-70 would have looked if Roy Fokker had piloted one. During the painting process I couldn't stop humming the intro music from Robotech, and I haven't really been able to stop! As always, enjoy!


Thursday, 24 March 2016
Painting a Muscle Firespray
With the Muscle Firespray I had a rather clear goal in mind; make it look similar to actual muscle cars. To that end I knew I had to paint some rather extreme and highly eye-catching highlights, preferably making them almost look metallic.

Before painting I modified my Firespray slightly. Basically I removed some greebles to make the hull a bit smoother. I will admit that it's not really noticeable to anyone but myself, but it helped improve the look I was attempting to replicate.


I primed the ship with Vallejo's Grey primer. To get the stripes I airbrushed the front with a 1:1 mix of VGC Stonewall Grey and AP Matt White. The front was then masked off before I sprayed the rest of the ship with VGC Imperial Blue.
Of course the masking tape had not covered as well as I would have liked so I had to go back and repaint the stripes manually. Though to be fair, despite the blue overspray, the stripes were clean enough that the repainting was a piece of cake.

I painted some parts, particularly several things on the back of the ship, with a 1:1 mix of VMC German Grey and VGC Cold Grey. I then shaded the ship using a black oil wash.


To get the eye-catching blue highlights I started with a 3:1 mix of Imperial Blue and VGC Magic Blue. I painted this on just about every panel line and edge I could find. The second highlight used the same colours, only using a 1:1 mix and the third highlight was more of the same only using a reverse mix (1:3).
The fourth highlight was a 2:1 mix of Magic Blue and VGC Wolf Grey. I painted this mix only on the top edges of each panel. For the fifth and final I painted pure Wolf Grey on the most prominent panels.

Due to the stripes already being quite white to begin with, I had a difficult time to highlight them. Should have made them slightly darker. Anyway, the first highlight was a 2:1 mix of Matt White and Stonewall Grey, while the second used a 3:1 mix instead. The third one was pure Matt White.


I tried to give the areas painted with dark grey a basic NMM treatment starting with a 1:3 German Grey and Cold Grey mix, switching to Cold Grey, then Stonewall Grey and ending with pure white.

The cockpit window was similarly painted to the mechanical bits, only I base coated the window with a 1:1 mix of AP Matt Black and German Grey. For the reflections I started with the basecoat with a small amount of German Grey added and gradually worked myself up to pure white.

The engine glow started as a 1:1 mix of VGC Dwarf Skin and Matt White. For the middle of each engine I used pure white. For the surrounding glow I first used a 3:1 mix of VMC Orange fluo and Dwarf Skin followed by pure Orange Fluo.
I'm honestly not satisfied with the OSL effect though to be fair it was the first time I did this kind of freehand painting using an airbrush. Still, the glow is fairly effective so the actual colours used was apparently the correct choice.

Before painting I modified my Firespray slightly. Basically I removed some greebles to make the hull a bit smoother. I will admit that it's not really noticeable to anyone but myself, but it helped improve the look I was attempting to replicate.


I primed the ship with Vallejo's Grey primer. To get the stripes I airbrushed the front with a 1:1 mix of VGC Stonewall Grey and AP Matt White. The front was then masked off before I sprayed the rest of the ship with VGC Imperial Blue.
Of course the masking tape had not covered as well as I would have liked so I had to go back and repaint the stripes manually. Though to be fair, despite the blue overspray, the stripes were clean enough that the repainting was a piece of cake.

I painted some parts, particularly several things on the back of the ship, with a 1:1 mix of VMC German Grey and VGC Cold Grey. I then shaded the ship using a black oil wash.


To get the eye-catching blue highlights I started with a 3:1 mix of Imperial Blue and VGC Magic Blue. I painted this on just about every panel line and edge I could find. The second highlight used the same colours, only using a 1:1 mix and the third highlight was more of the same only using a reverse mix (1:3).
The fourth highlight was a 2:1 mix of Magic Blue and VGC Wolf Grey. I painted this mix only on the top edges of each panel. For the fifth and final I painted pure Wolf Grey on the most prominent panels.


Due to the stripes already being quite white to begin with, I had a difficult time to highlight them. Should have made them slightly darker. Anyway, the first highlight was a 2:1 mix of Matt White and Stonewall Grey, while the second used a 3:1 mix instead. The third one was pure Matt White.


I tried to give the areas painted with dark grey a basic NMM treatment starting with a 1:3 German Grey and Cold Grey mix, switching to Cold Grey, then Stonewall Grey and ending with pure white.

The cockpit window was similarly painted to the mechanical bits, only I base coated the window with a 1:1 mix of AP Matt Black and German Grey. For the reflections I started with the basecoat with a small amount of German Grey added and gradually worked myself up to pure white.
The engine glow started as a 1:1 mix of VGC Dwarf Skin and Matt White. For the middle of each engine I used pure white. For the surrounding glow I first used a 3:1 mix of VMC Orange fluo and Dwarf Skin followed by pure Orange Fluo.
I'm honestly not satisfied with the OSL effect though to be fair it was the first time I did this kind of freehand painting using an airbrush. Still, the glow is fairly effective so the actual colours used was apparently the correct choice.
Wednesday, 3 February 2016
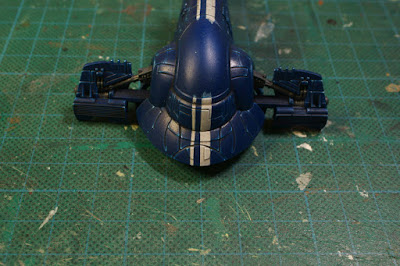
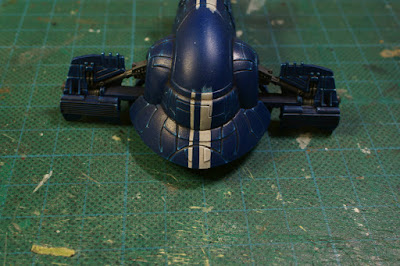
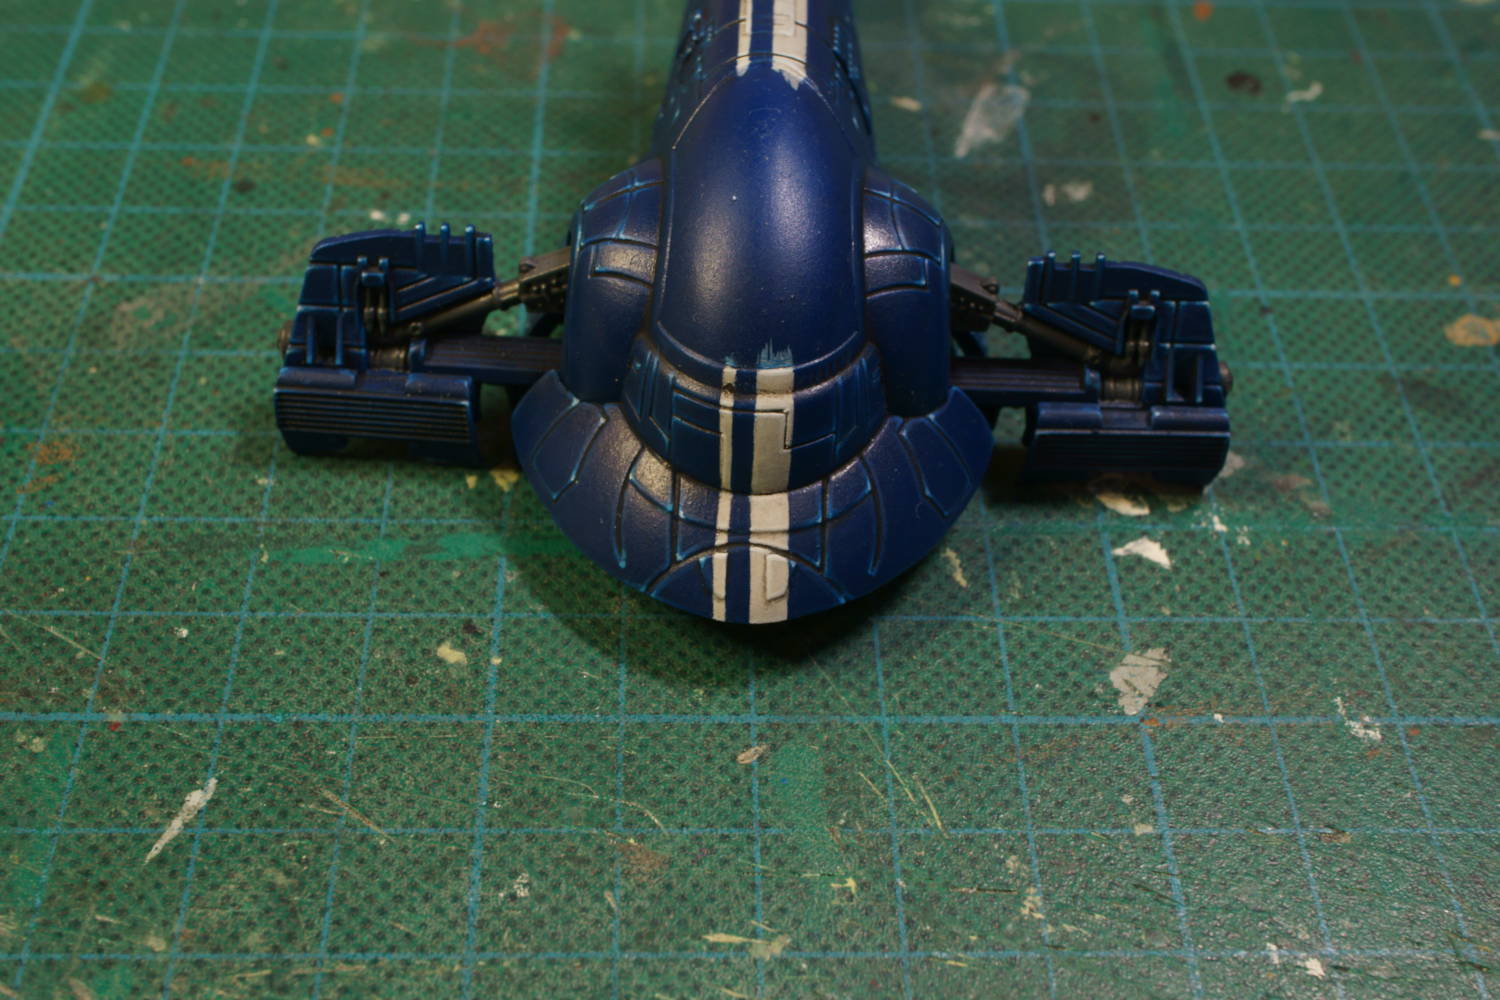
Painting an Arquitens
The Arquitens was never going to be a very special ship in terms of its paint job. The commissioner wanted it to have similar colours to the Raider and/or Gozanti so that is what I tried to achieve. Besides, boring paint job aside, the ship is spectacular enough to grab the attention of passer bys regardless.

I primed the ship with Vallejo's black primer and after that I applied a base coat using a 1:4 mix of VGAir Wolf Grey and VGAir Cold Grey. I also tried to do some pre shading using a 1:6 mix of VGAir German Grey and VGAir Cold Grey, but I didn't quite get the mixture right so it's not very noticeable.

Next I manually painted some panels with a 1:1:2 mix of VMC German Grey, VGC Shadow Grey and VGC Cold Grey.
Both this mix and the base coat was specifically formulated to mimic the colours found on Fantasy Flight Games' X-wing Raider ship. While certainly not a 100% match, they are certainly close enough that I will recommend them to anyone wanting to do touch ups and/or repairs to their Raider.

The ship was given a solid coat of gloss varnish before I did anything else. This helps prevent damage to the first few layers of colour and makes it much easier to apply the shade.
For the shade I used thinned black oil paint, applied directly to the panel lines. I left this to dry about a day before I went over the ship again with q-tips dipped in white spirit to remove any excess. Due to the size of the ship, I had to do this in pre-planned stages and it took me about three days before everything was finished.


To seal the oil wash I airbrushed the ship with a layer of matte varnish which in turn meant I had reached the highlight stage. The base grey colour was highlighted in three stages:

Normally I try to do all highlighting in one go, but due to the size of the ship I was afraid that some of that highlight would ultimately be worn away and/rubbed off in some places just by virtue of having to handle the ship a lot.
While I always take precautions to avoid this, normally by mounting the models using an assortment of improvised tools, for the Arquitens it just wasn't an option for the main part of the ship. Too bloody big!
My solution in this case was leave the edges of the ship until the very end. A wise decision it turned out as some of the paint had indeed been lost due to my handling of the ship. After some quick repairs I could apply the same highlights on the edges as for the rest of the ship.

I airbrushed the engine glow using a mix of VMAir White and VMC Blue Fluo. Unfortunately I can't give any exact ratios as I was constantly adjusting the mix to fit my needs but I always had a lot more white than blue. If I remember correctly I started with something like a 1:6 blue to white ratio and ended with a 1:2 ratio.
The final bit of detailing was the windows for the bridge and turrets. I started with a 1:2 mix of AP Black and German Grey. Normally I try to do some extravagant reflections when painting windows but due to the small size of the bridge windows (the smallest ones are only about 1.5-2mm across) I instead highlighted the edges, starting with German Grey and ending with Stonewall Grey.
I primed the ship with Vallejo's black primer and after that I applied a base coat using a 1:4 mix of VGAir Wolf Grey and VGAir Cold Grey. I also tried to do some pre shading using a 1:6 mix of VGAir German Grey and VGAir Cold Grey, but I didn't quite get the mixture right so it's not very noticeable.

Next I manually painted some panels with a 1:1:2 mix of VMC German Grey, VGC Shadow Grey and VGC Cold Grey.
Both this mix and the base coat was specifically formulated to mimic the colours found on Fantasy Flight Games' X-wing Raider ship. While certainly not a 100% match, they are certainly close enough that I will recommend them to anyone wanting to do touch ups and/or repairs to their Raider.

The ship was given a solid coat of gloss varnish before I did anything else. This helps prevent damage to the first few layers of colour and makes it much easier to apply the shade.
For the shade I used thinned black oil paint, applied directly to the panel lines. I left this to dry about a day before I went over the ship again with q-tips dipped in white spirit to remove any excess. Due to the size of the ship, I had to do this in pre-planned stages and it took me about three days before everything was finished.


To seal the oil wash I airbrushed the ship with a layer of matte varnish which in turn meant I had reached the highlight stage. The base grey colour was highlighted in three stages:
- 1:1 mix of VGC Stonewall Grey and Cold Grey.
- 1:5 mix using the previous colours.
- 2:3 mix of AP Matte White and Stonewall Grey.
- 1:1:2 mix of Stonewall Grey, Shadow Grey and Cold Grey.
- 3:1:1 mix using the previous colours.
- 2:1 mix of Stonewall Grey and Shadow Grey.

Normally I try to do all highlighting in one go, but due to the size of the ship I was afraid that some of that highlight would ultimately be worn away and/rubbed off in some places just by virtue of having to handle the ship a lot.
While I always take precautions to avoid this, normally by mounting the models using an assortment of improvised tools, for the Arquitens it just wasn't an option for the main part of the ship. Too bloody big!
My solution in this case was leave the edges of the ship until the very end. A wise decision it turned out as some of the paint had indeed been lost due to my handling of the ship. After some quick repairs I could apply the same highlights on the edges as for the rest of the ship.

I airbrushed the engine glow using a mix of VMAir White and VMC Blue Fluo. Unfortunately I can't give any exact ratios as I was constantly adjusting the mix to fit my needs but I always had a lot more white than blue. If I remember correctly I started with something like a 1:6 blue to white ratio and ended with a 1:2 ratio.

The final bit of detailing was the windows for the bridge and turrets. I started with a 1:2 mix of AP Black and German Grey. Normally I try to do some extravagant reflections when painting windows but due to the small size of the bridge windows (the smallest ones are only about 1.5-2mm across) I instead highlighted the edges, starting with German Grey and ending with Stonewall Grey.
Subscribe to:
Posts (Atom)