

Anyway, my latest project has been a scratch build of a ship type known as a YG-4210. It's one of many, many light freighter designs that exist in the extended Star Wars universe. Supposedly it's a very old design, pre-dating the far more famous YT-series by a couple of centuries.
From the very beginning, I knew this would be the most challenging build I had ever attempted. If I couldn't get the main hull and the escape pods right, it would be game over for the project. The difficulty was further increased due to the fact that I didn't have quite the right materials for the job.

The upper and lower hull was designed to be as identical to each other as I could. I started by gluing 1.5mm plasticard pieces together to create two pieces at 3mm thickness. These two was later carved, cut, filed and sanded to the shape I had decided on.
The escape pod walkway started it's life as a round tube. Of course, perfectly round was not the shape I wanted, so in order to create a hexagon tube I surrounded the round tube with six thin plastikard pieces. The end result was not as hexagonal as I had hoped for, but it was symmetrical and that was good enough for me. While waiting for the other pieces to dry I worked on what would form the basis of the three engines.

The YG-4210, like most Star Wars freighters, has a lot of panel lines, so before I added anything else I took out my trusty panel scribing tool and finished both hull parts. This proved to be quite difficult due to the rounded edges but it was well worth effort.

To join both hull pieces I added another 3mm piece in between them. Two strips of plastikard, detailed with a lot of assorted bits, were created to hide the middle piece.

Joining the hex tube to the hull was perhaps the trickiest part of the build. It involved a lot of angles, measuring and careful consideration before I even dared to attempt the first cut. Incredibly, it went far smoother than I could have hoped for and only a small amount of filling was needed to fix the few mistakes I made.


With the main hull and hex tube finished, I could finally turn my attention to the second most important part of the build, the central column. This would form the backbone of the entire rear of the ship so it was important to get it right. Luckily, I got it so precisely engineered from the very start that I didn't even have to glue it in place. In fact, it still isn't glued into place, which has proved to be a boon when painting the ship.

The cockpit area was built in much the same way as the hull pieces, only on a smaller scale. Due to the curved front I had to dip the cockpit into boiling water in order to soften it and then bend it into the rough curvature of the hull.


After that, it was really only a matter of detailing the entire ship properly. I think I've lost count of all the microscopic plasticard pieces I've added to the ship. I suppose it is only fitting that the smaller details become, the more time consuming they become to finish.


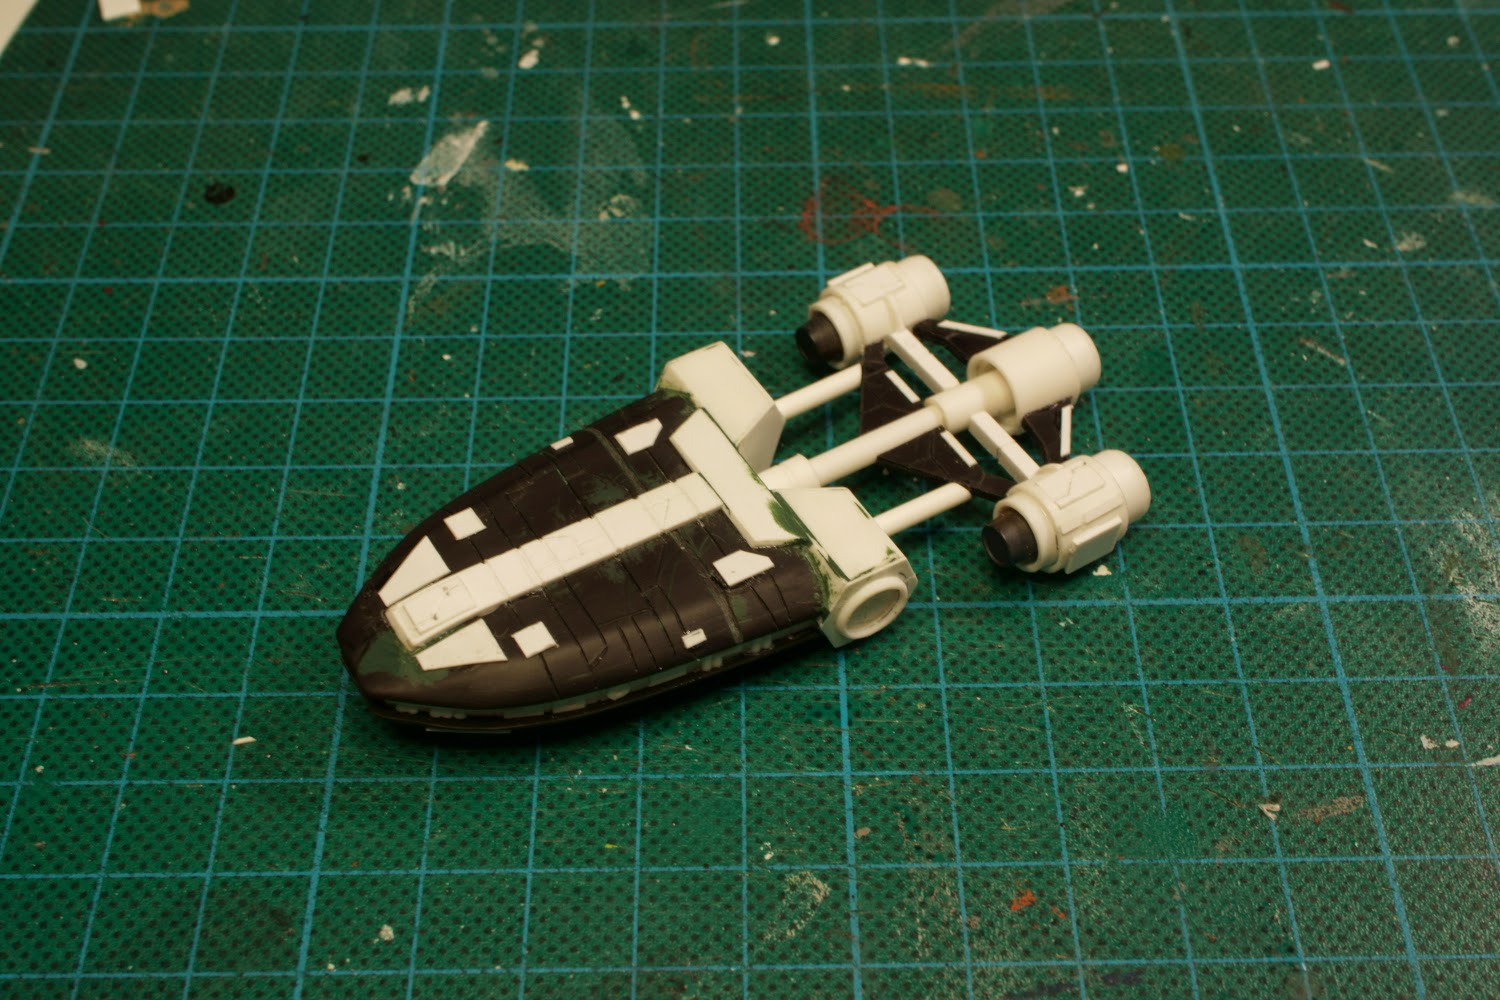
As always I sprayed some black spray onto the model near the end of the build to make it easier to spot any flaws, scratches and holes. And here it is, almost ready for painting. Next time I'll have it finished with a top notch paintjob.
No comments:
Post a Comment