
 So how do you go about transforming a Lego kit into a 'real life' Star Wars model. Well it's not the easiest task I've ever undertaken but somehow it seems I've come out of the ordeal with flying colours. And I also managed to produce a pretty kick ass model too boot!
As is often the case, I could find very little background information for the ship in question. Possibly worse than normal this time as the CT-900 is about as far away from Star Wars canon as humanly possible while still being considered an official product.
Having the Lego kit helped but it was immediately apparent that it would take a lot of creative license from my side in order to make the model a reality. I also quickly figured out that the model in the TV-show does not quite match the Lego kit. The rear part in particular is a lot smaller in Lego form.

The CT-900 can be quite easily be divided into six distinctive pieces. Rear/cargo bay, front/bridge, two bridge 'wings', and two gun pods. Of these six pieces, the cargo bay and bridge are without a doubt the most important so I started the build with those two.

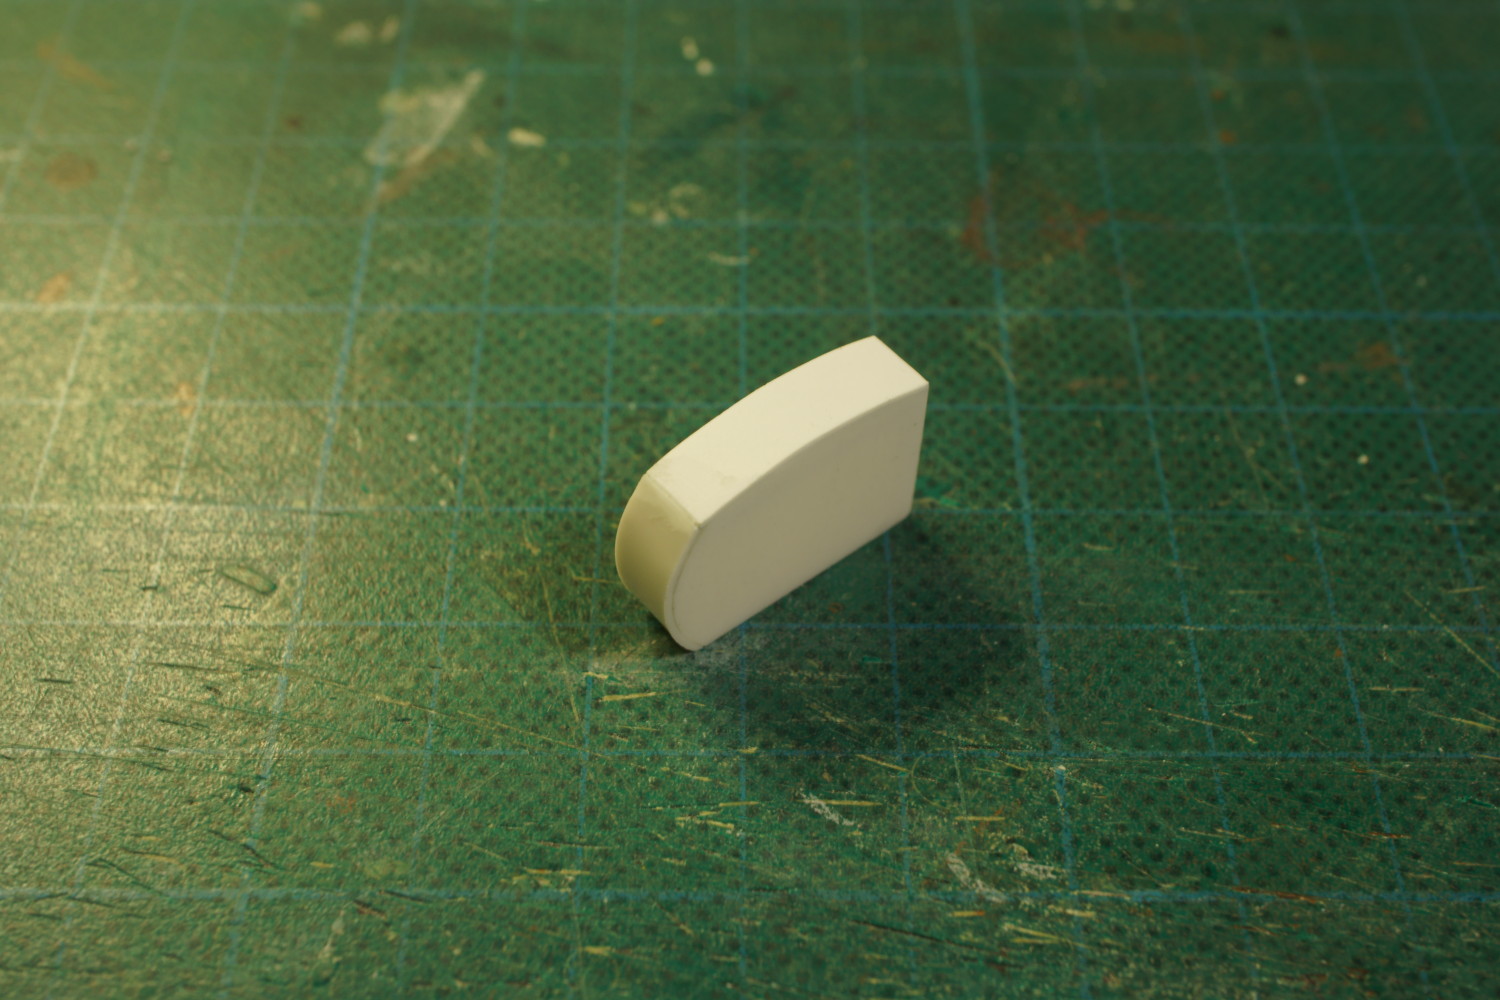
The bridge 'wings' (or perhaps ears would be a better term) are two fairly substantial pieces. While it's probably not immediately apparent in the picture above, several parallel pieces of plasticard was needed to get the basic shape. For some reason both ended up slightly crooked, but only when viewed from below.

One important part of the build was to retain as many of the Lego kit's features as possible. One of the more obvious ones was being able to separate the front and rear from each other. In cases like this, rare earth magnets are very handy to have.


Another important feature was the folding wings. I built a simple piano hinge by cutting 2.4 mm tubing into several short pieces and mounting them on some 1 mm piano wire. The first, third and fifth section was glued to the cargo bay while the second and fourth were glued to the wings.
At this stage it was decided that the cargo bay was a bit too wide so I had to spend a considerable amount of time making it smaller. I also strengthened the inner structure, moved the front magnet plate slightly backwards and made numerous other small changes.
One feature of the Lego kit is that the rear of each wing is actually supposed to swing forward 270 degrees and make the wingspan about twice as wide. My problem was figuring out a solution that would be able to do this, while not being flimsy as hell and not damage the paint work in the process. Obviously I couldn't figure out something suitable so I decided not to bother with it.

When it came to building the gun pods, the Lego model was of very little help, except estimating the rough size. The design was instead inspired a great deal by the CG model in the show however even then I could really only look at grainy pictures from sub optimal angles. Because of this, the pods are perhaps a bit featureless.


The engines mounted on top of the cargo bay went through a few revisions before being accepted as a suitable design. At the same time I also added several other plasticard pieces to the cargo bay, fleshing out into a complete model instead of just a naked skeleton.

The bottom of the cargo bay was a bit of a problem. Neither the Lego kit, not pictures of the CG model, really showed the underside. I reasoned that the cargo bay should have a dedicated landing gear so I installed some heavy duty ones in each corner. I also reasoned that there should be some kind of access hatch and the most logical place was to put it in the middle of the underside.


With just about all the major pieces completed and most of the cargo bay detailed I could finish the front part. As it is a separate ship I had to add engines, landing gear and all manner of bits and pieces in order to make it look capable of independent action.


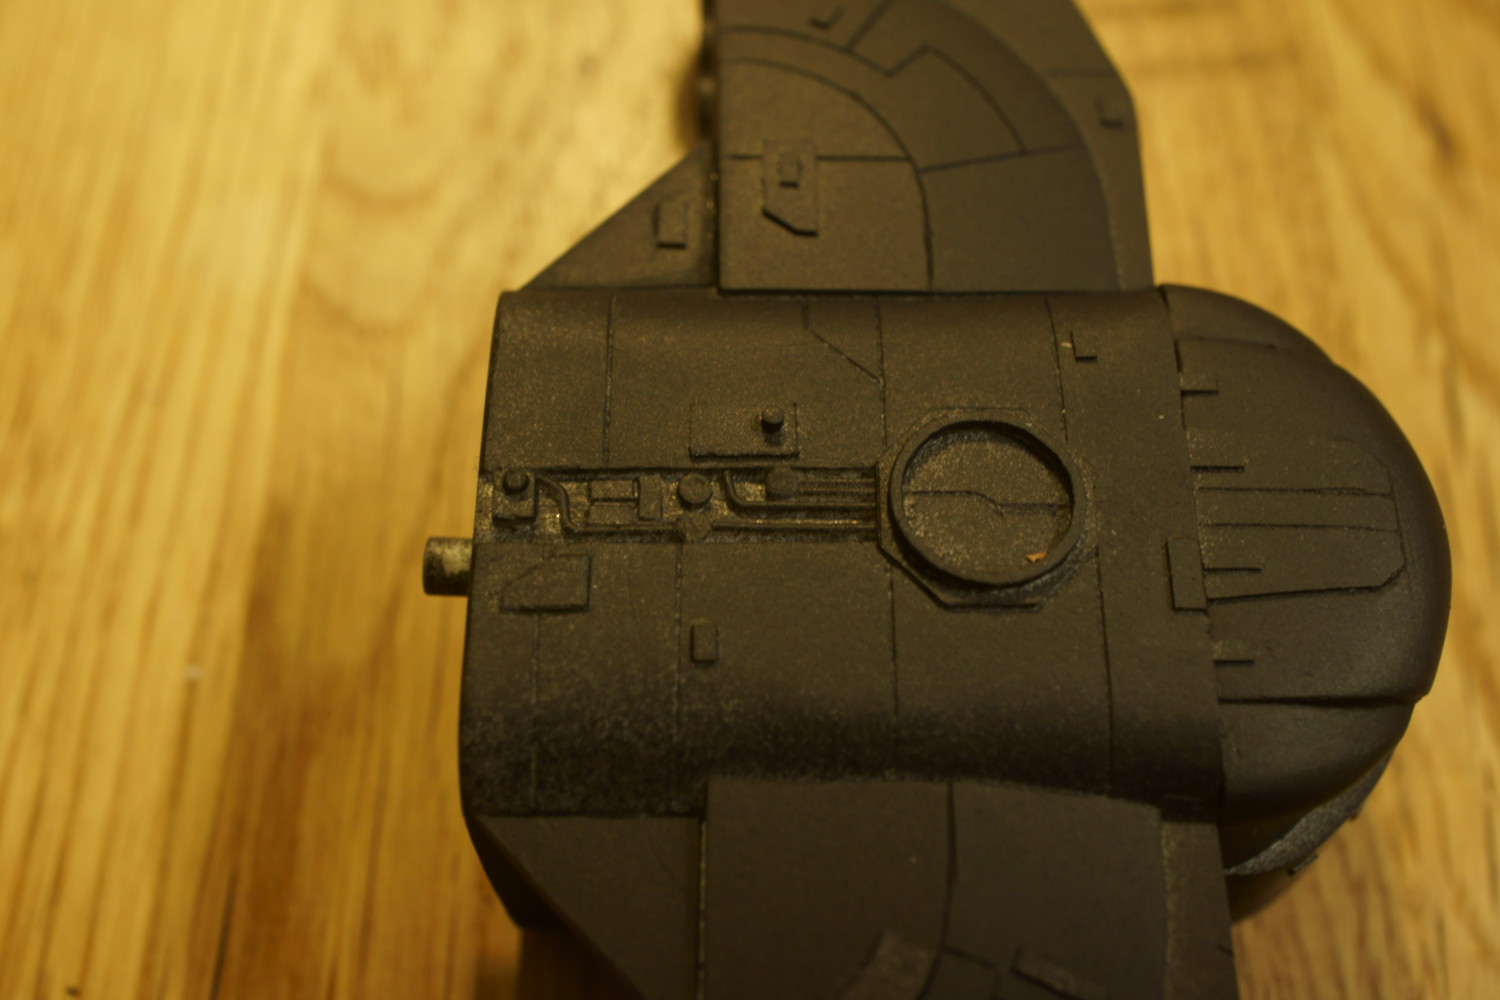
The final few stages were greebling and adding a few open and exposed areas to the ship. In my opinion, a well designed Star Wars freighter should have some places where the innards of the ship are easily accessible, like power conduits, cables and machinery.
There's very little right or wrong when doing this, as long as it looks good. For instance, between the top engines I created a chaotic mess using real electrical wires and several left over bits from Warhammer 40k Adeptus Mechanius models. I actually highly recommend Mechanicus models for this type of work as the bits have a look that generally lends itself well to the 'industrial' sci-fi look that many Star Wars ships feature.

And there you have it, the world's first 'realistic' take on the CT-900 'StarScavenger'. A challenging build to be sure, but I managed to survive the ordeal. If I ever had to it again, I would probably make the model 10-20% smaller, but that is for another day. Enjoy!
No comments:
Post a Comment