Showing posts with label terrain. Show all posts

Sunday, 26 October 2014

Hutt asteroid base part 2

By now I had all the basic structures built and in place so it was time to start detailing everything. I started with trying to make my asteroid look like an asteroid.


I asked around a bit on how to accomplish this and got a tip that acetone works wonders on styrofoam. Not having ever tried this, I first experimented with some leftover pieces that left me very pleased with the result. Probably slightly woozy from the acetone vapours I immediately set out to deform the asteroid surface to represent hits from smaller asteroids. It was really just as simple as applying varying amounts of acetone to random spots and pressing down to form the indentation. Of course for the areas covered with milliput this didn't work in the slightest so I had to use my trusty Dremel to carve out some decent holes.


I painted the surface with thinned out black to be able to easier spot any flaws and filled them out with liquid green stuff. When that was dry I covered the 'rock' with several layers of thinned out PVA glue to seal the model. Finally, to make sure the surface had about the same structure all over, I used Vallejo Mat Gel Base. This has a thicker consistency than PVA and is therefore great for shaping patterns on a surface, or in this case, making sure the asteroid had about the same roughness all over.


Next I added some support struts to the landing pad (well one was already built, as can be seen in earlier pictures). This was most likely not needed to actually support the landing pad but it looked proper so I figured it was a good idea. I also built two small connecting walkways between the buildings.


The hangar and landing pad was the first structure to be fully detailed. Throughout the entire build, I deliberately kept the details a bit simpler than I might normally have done. A terrain piece like this usually has to stand up to a fair bit of wear and tear so I built everything fairly solid and simple to be able to take the intended usage.

Keen eyed readers might also spot the hole in the middle of the landing pad. This was added to make X-wing ships be able to land better, without the mounting peg mucking things up.


The command bunker is probably the building that most closely emulate the original computer model it is built after. As such I knew I had to add some communication equipment on top of it. The antenna behind the satellite dish is intended to look like the comm satellites that can be found as scenario markers in the X-wing starter box. This was something the commissioner wanted to be added and I wish I could have built it larger but sadly I just didn't have any good parts for this.


The turret tower was last on the list to be detailed. Nothing fancy really, as the main point of it was to have a big freaking gun on top. The base has a total of four turrets, all of which can be turned 360 degrees. Probably a bit too much but it looks so good! One of the turrets is magnetised and is intended to look a bit like the small turrets found on the CR-90 corvette. However, the other three are leftover parts from a Hasegawa Macross plastic kit. Never throw away anything!


The cantina was already almost completely detailed from when I originally built it. However, the commissioner wanted a sign on top of it with the text BAKURA-8-3 so I happily obliged. Those letters were damned fiddly to shape properly though, so I wasn't quite as happy when it was finished. Now I could finally begin painting the asteroid base but that is a story for my next post. Later peeps!

Tuesday, 21 October 2014

Hutt asteroid base part 1


My latest project has been a scratchbuild commission of a Hutt asteroid base. This was not only supposed to be used as terrain for Star Wars: X-wing but also as a model for roleplaying games. The commissioner wanted it to have a foot print no larger than an Ipad and include a fairly big landing pad so X-wing models could land on it. Never one to turn down a new and interesting challenge, I eagerly accepted the commission.

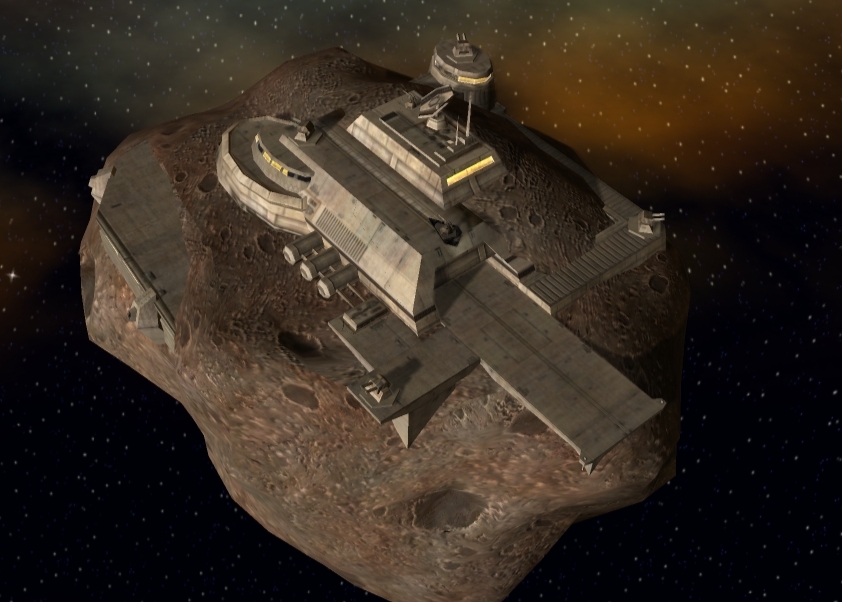
The commissioner supplied the above picture as an example of what he wanted and I thought it looked so good that I used it as the basis for the entire build. I'm not quite sure where the picture originates from but if I had to make a guess I would say Star Wars Galaxies.


Two blocks of pink/purple styrofoam formed the basis of the asteroid. It was decided fairly early on to make it flat and only detail the 'top half' of the asteroid as this made the model more practical and easier to build as well. Next I carved out a rough shape with my hot wire cutter and later sanded down an rough areas. I didn't glue the two pieces together at this stage, otherwise I wouldn't have been able to quite reach everywhere with my wire cutter. Instead I stuck some toothpicks
into one part and pressed it flush against the other part. Simple yet effective.


The landing pad was the first structure that I began working on. I took my inspiration from space stations in the old Tie Fighter computer game and tried to create something similar. My thinking was that since this was supposed to be a smuggler hideout, it wouldn't be unreasonable to expect the builders of the place to have scrounged up/stolen parts of a bigger space station.


The hangar is a rather simple box like construct that I made sure to attach firmly to the landing pad as soon as I was finished with it. Carving out a space for the combined structure wasn't quite as easy as I had initially hoped due to the curved surface.


The cantina (also known as the Hutt toilet seat) and the command bunker/living quarters was next to be built. These two were later intended to be combined just like the landing pad and hangar but as they were on two different levels (the command bunker was raised a bit over the asteroid and placed on the highest point as well) it proved far harder than I had anticipated.


To round out the structures I build a small tower behind the command bunker that was intended to be a sort of observation post/turret. Next I could finally start filling up some holes and flaws with milliput and liquid green stuff. I also glued together the styrofoam pieces and covered the seam between them with even more milliput.

The second picture shows the final placement of the buildings. As I stated earlier this was not quite as easy as I had hoped and I didn't manage to get the buildings quite as parallel to each other and as horizontally level as I wanted. On the other hand, going back to the story of the base, any smuggler operating from the base would probably be more concerned with other things (bounty hunters for instance) than how the buildings were placed.

Monday, 17 February 2014

The final factory

The third and final plastikard factory is finished. As with the previous one, it has not yet an inner floor for the second story, but that will most likely soon be sorted out.


At 25 centimetres long and 15 centimetres wide it is fairly big. The only thing it really lacks is a proper smokestack but that would most likely become a weakness when gaming so I left it out. Might come back and make one later though.

Monday, 10 February 2014

Plastikard factory 2

Another factory almost finished. With the exception of the floor of the second story, there really are only some minor detailing left.


It is half the size of the previous one, but since it's a two story building, the surface area for models is almost the same. I'm far more pleased with this one though, probably since I now know what I'm doing and has therefore managed to build a better and more exact building with less effort and time. You could say that I have managed to accumulate enough experience to level up. ^_^

Thursday, 6 February 2014

Plastikard factory

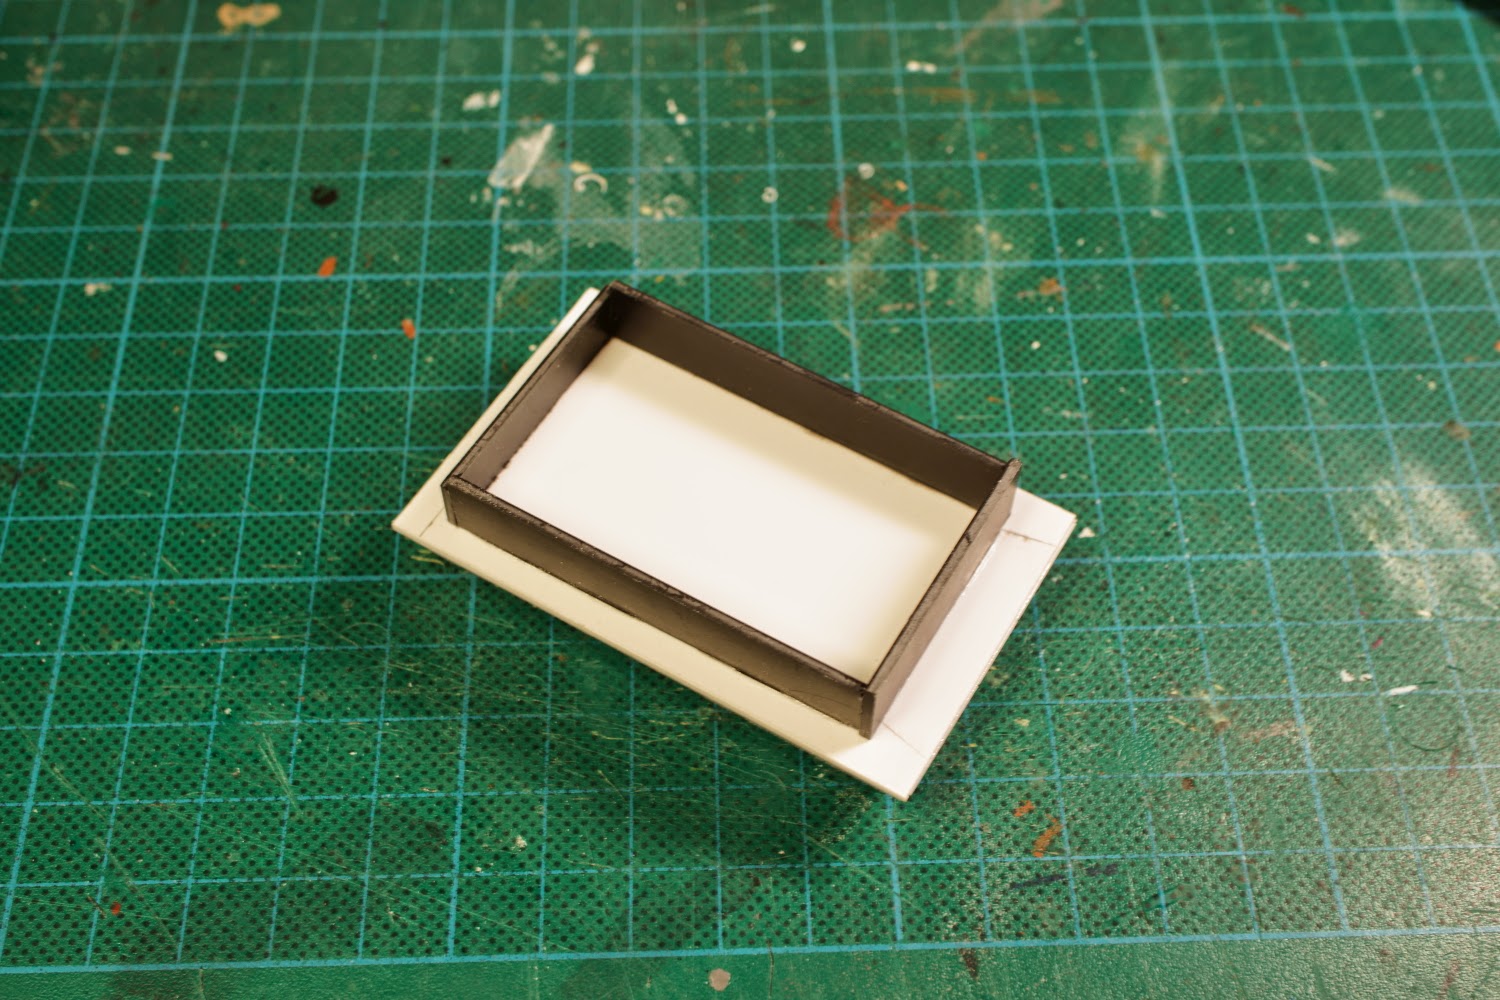
Work has continued on my Flames of War buildings and the first one is almost ready for painting.


At about 30 centimeters long and 20 centimeters wide, it is not a small building for this scale and should hopefully fulfill some of my friends need for large scale Stalingrad battles.


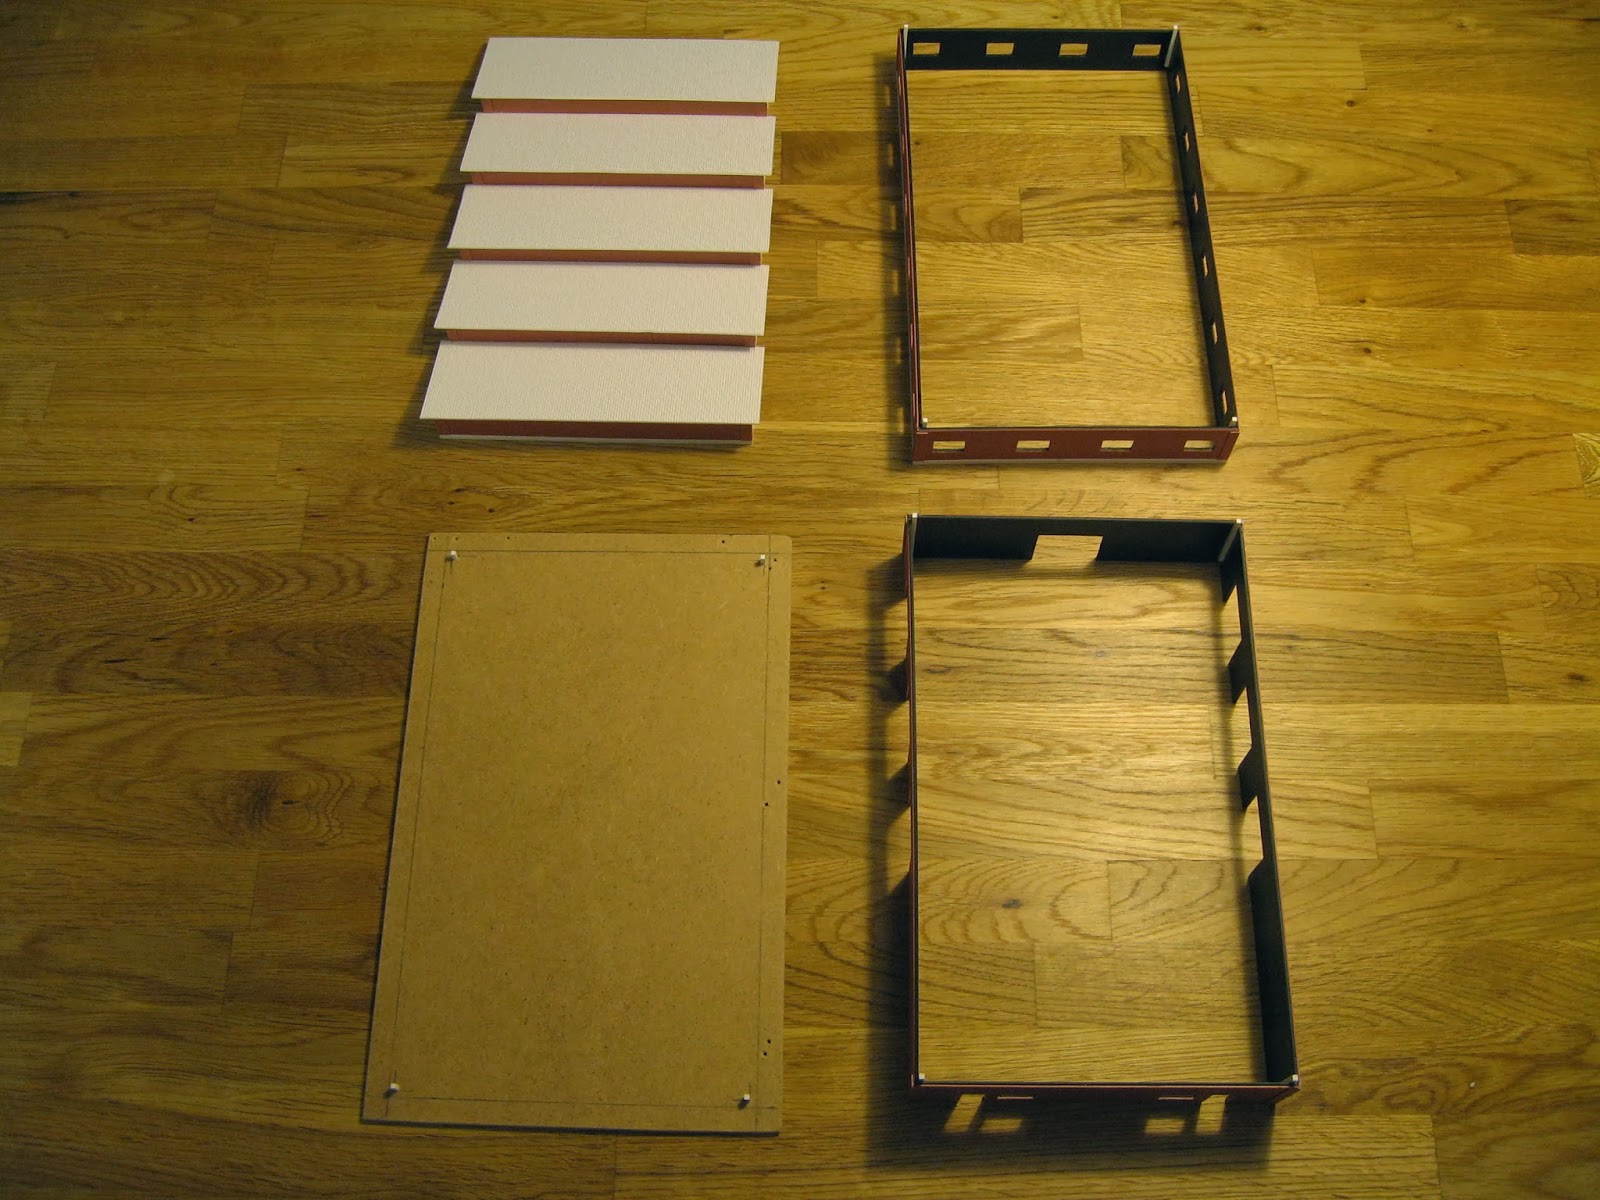
The design is modular, with removable roof and base and possibility to add more floors later. I am not sure however that I will add much more to this particular building as another floor would probably be a bit unstable.

Thursday, 23 January 2014

Plastikard mayhem!

Time for my first real update. And what an update it is!


Oh look, something arrived in the mail today. What is it? That's right, lots of plastikard! Almost a kilo of it in fact. Now, whatever might I be doing with that? Well the next picture might give you a hint. :)


Until next time!