

The first three pieces was really only intended to create extra stability and structure to add everything else to. The middle part was not originally supposed to be that long but I realized that I could easily add more pieces to it. So instead of cutting it flush against the rear piece, I added to the rear superstructure and created a boxlike construct on top of it.


Next I added the base of the crew compartment, basically an off-centre box, where I imagined the driver and commander would sit. I also added the backplate and put lots of liquid green stuff on any imperfections. This would later be sanded down.

After this I fleshed out the crew compartment while I pondered about the front hatch. While I didn't bother with an interior on this build I did know I wanted a functioning hatch and it had to be bigger than an actual Land Raider hatch. What I came up with was quite frankly dead simple and yet works quite well.


I pre-manufactured the sides and glued them in place on what would become the front underside of the tank (As you will see later I didn't bother with covering the entire underside of the vehicle). After that I drilled some 0,5mm holes in the sides and hatch, put everything into place and pressed some 0,5mm pianowire into those holes to hold the hatch in place. Then I just slotted the finished construction into place.

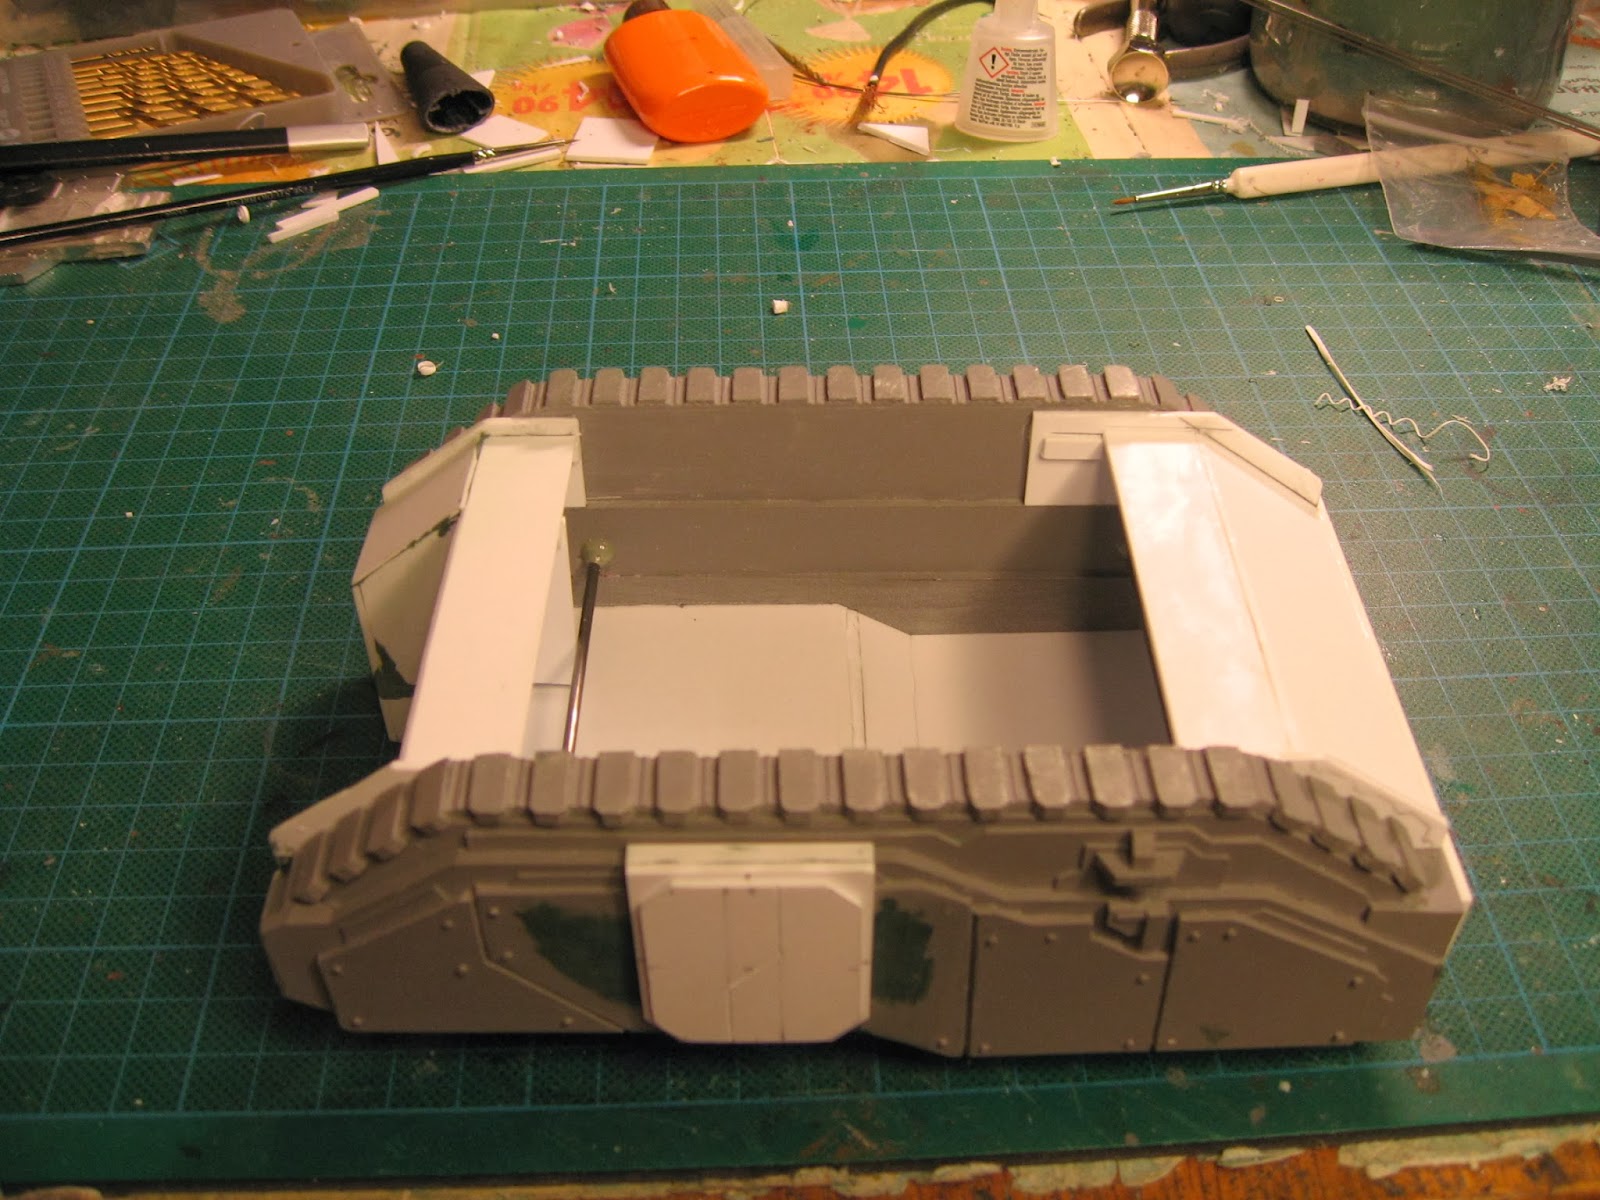
The rear underside and side hatches were added at this stage and this completed the big structural part of the build. I was feeling pretty good by now so I took some pictures from all angles to celebrate, yet I knew the next part would take more time. Details!


No comments:
Post a Comment